
A practical guide to getting it right the first time
Designing a new home is a rare opportunity: you get to make solar easy, efficient, and cost-effective before a single shingle goes down. A bit of foresight here avoids compromise later.
1) Start with the Roof (It Matters More Than You Think)
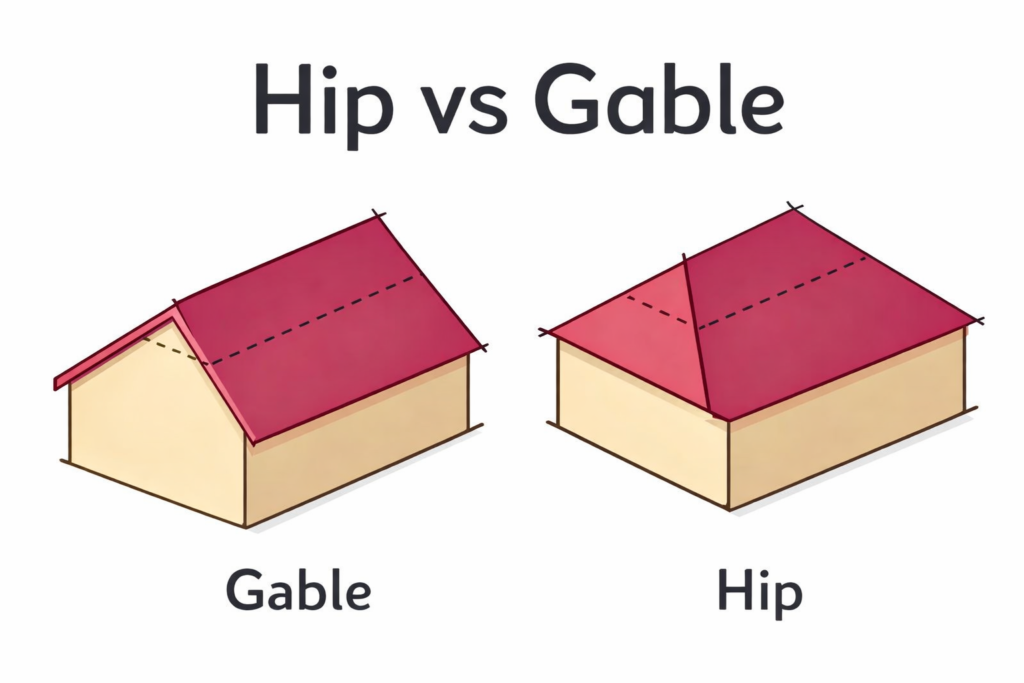
- Choose a gabled roof over a hip roof. Solar panels are rectangular. Gabled roofs are, conveniently, also rectangular. Hip roofs introduce triangular sections that waste otherwise usable space.
- Minimize obstructions on your best solar roof planes. Chimneys, plumbing stacks, vents, dormers, etc., all reduce usable area and complicate layout.
- Eliminate where possible (e.g., ridge vents instead of mushroom vents)
- Relocate where practical (e.g., move plumbing stacks to a north-facing roof)
- Orientation and pitch—don’t overthink it.
- Ideal: ~5–8/12 pitch, facing solar south (≈12° west of magnetic south)
- Small deviations? Negligible impact.
- Multiple compromises (wrong pitch and wrong direction and shading)? That adds up.

2) Structural Design: Plan for the Load
- Sloped roofs: Add +5 psf to the design static load.
- Flat roofs (less ideal for residential projects): Add +10 psf.
Ask your designer/engineer to ensure truss drawings are explicitly marked “solar ready.”
This is simple to do now, and annoying to fix later.
3) Roofing Material: A Chance to Do It Better
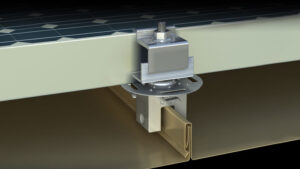
Standing seam metal roofing (SSMR) is the gold standard for solar integration.
Recommended (not required, but worthwhile):
- Heavier gauge material
- Mechanically seamed (vs click/snap-lock)
- Tighter fastener spacing (e.g., 8″ vs 16″)
Why? Fewer penetrations, stronger assembly, better long-term durability—especially as weather gets less predictable. A little overbuild here is rarely regretted.

4) Electrical Layout: Think Ahead
- Preferred approach: connect solar upstream of a generator’s Automatic Transfer Switch (ATS).
- Benefit: Solar is inherently isolated from the generator during outages. No extra controls required to “behave properly.”
- Space planning: Leave room near your Hydro One meter for solar equipment (inverters, disconnects, etc.).
- Wiring rough-in: Depending on aesthetics (hidden vs exposed conduit) and site layout, a rough-in plan may be worth doing during construction.
5) Batteries (Briefly)
If you’re thinking about combining solar + battery ( and maybe + generator), that’s a different (and more complex) design exercise. Worth discussing early, but outside the “baseline solar” scope.
6) Utility Reality Check (Hydro One)
- Capacity is not guaranteed.
Even if your roof is perfect, the grid may not be. - Apply early if solar is part of the plan.
- A preliminary capacity check can be done from your address
- It is not binding
- A formal application requires a Hydro One meter on site
Translation: don’t leave this to the end of construction.
The Big Idea
Solar works best when it’s designed in.
Good roof geometry, clear roof space, proper structural allowances, and a clean electrical layout will give you a system that’s simpler, more reliable, and more effective.
Or put another way: solar panels are easy—the house they sit on is the hard part.
Need Help?
If you want project-specific input (roof layout, rough-ins, electrical schematics, coordination with your builder and trades), we offer a new construction collaboration package for a fee.
Happy to answer questions either way.