One thing we can say for sure about small problems: left alone, they’ll become big problems. If your off-grid system will be left alone for long periods during cold weather you need to consider what steps to take to avoid big problems developing in your absence. The primary problems you may see over winter are direct impact from weather (snow, ice, wind) and, especially, battery drain and potential freezing. Here are some recommendations to help your system glide through the winter unscathed.
1. Do an end of season system inspection.
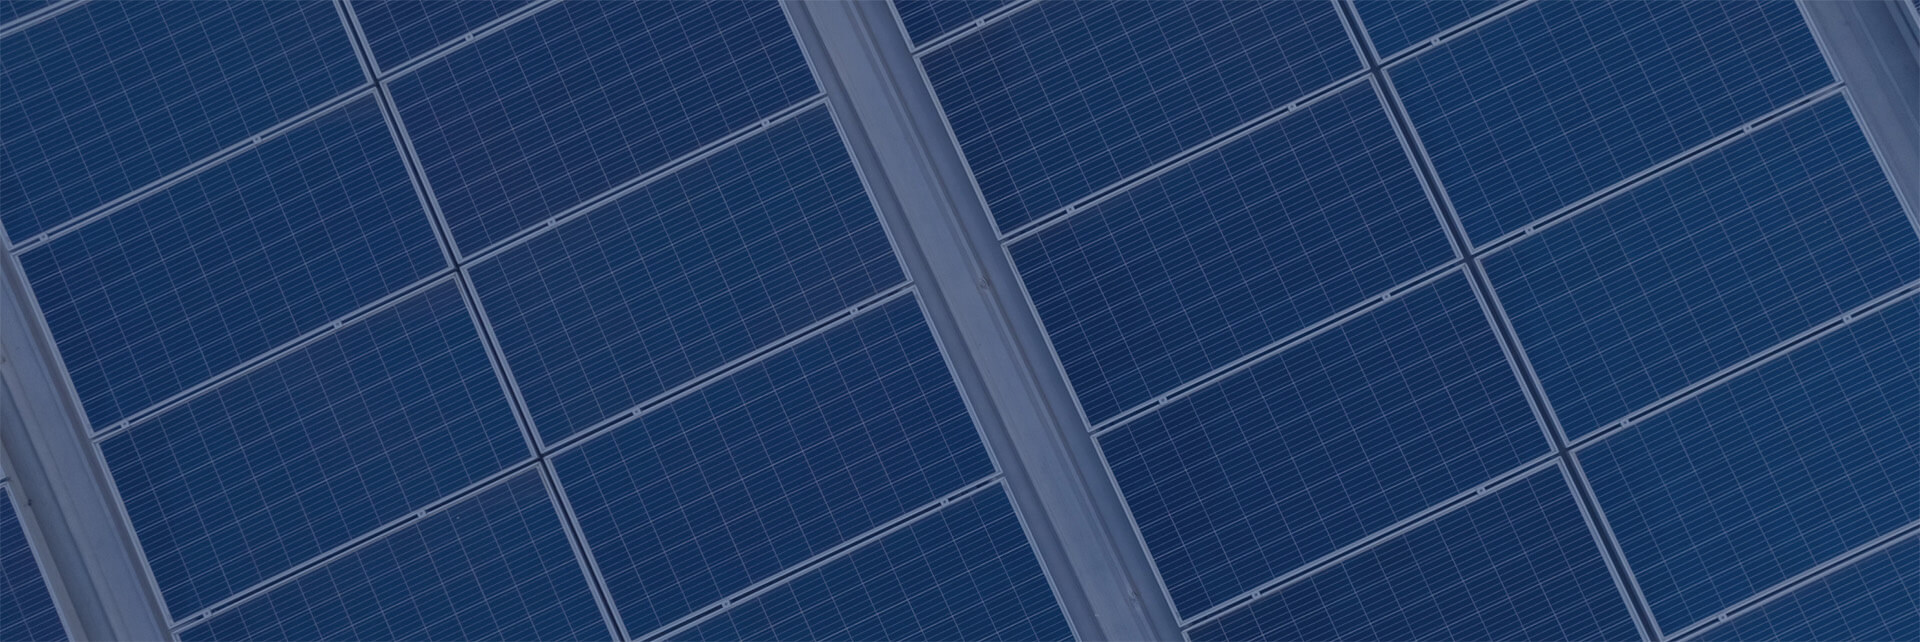
- Inspect the solar array, the racking, the cable runs, and the cable entries into the various boxes. Look for loose, broken, or damaged hardware.
- Make sure there are no signs of insect or rodent ingress, that all cables are protected and there is no sign of chewing, chafing, or other damage.
- Exercise all the switches and breakers on your system. Make sure they all feel solid and not spongy.
- Finally, make sure any cooling or venting airways are clear and unobstructed. This applies mainly to inverters and charge controllers but includes both active ventilation (fans, inlet screens, exhaust ports, etc) and passive ventilation (clearance around devices, heat sinks are clean).
2. Charge your batteries to full.
This is really important! Always make sure your batteries start their hibernation with a full State of Charge (SOC).
Lead Acid battery freeze point depends on state of charge. A fully charged battery is good to below -40C. An under charged battery can freeze at warmer temperatures, even approaching 0C. A frozen battery can sustain irreparable harm. So your primary hibernation objective is the keep the batteries as fully charged as possible to avoid freezing.
Depending on your starting state of charge, system design, and weather conditions you may need a generator to get an adequate charge into your battery bank. You should be aware of what’s required for your bank to achieve 100% state of charge. See also some of our other articles on batteries and battery care.
3. Turn off your inverter and any DC loads.
Winter = snow and snow-covered solar modules produce no useful energy. If your system has no energy coming in but connected loads are draining energy out then your battery state of charge will drop, exposing batteries to the risk of freezing. So to mitigate this risk, eliminate the loads. The surest way to do this is to turn your inverter off at its main breaker. If you have DC loads (lights, pump, etc) turn those off at their main breakers as well, because they are independent of the inverter.
If you have a need for loads to run during the winter consider carefully the impact and remember that the inverter, itself, is a load. Even a small phantom load will drain your batter bank over time if there’s insufficient energy coming in from the a snow-covered or shaded solar array.
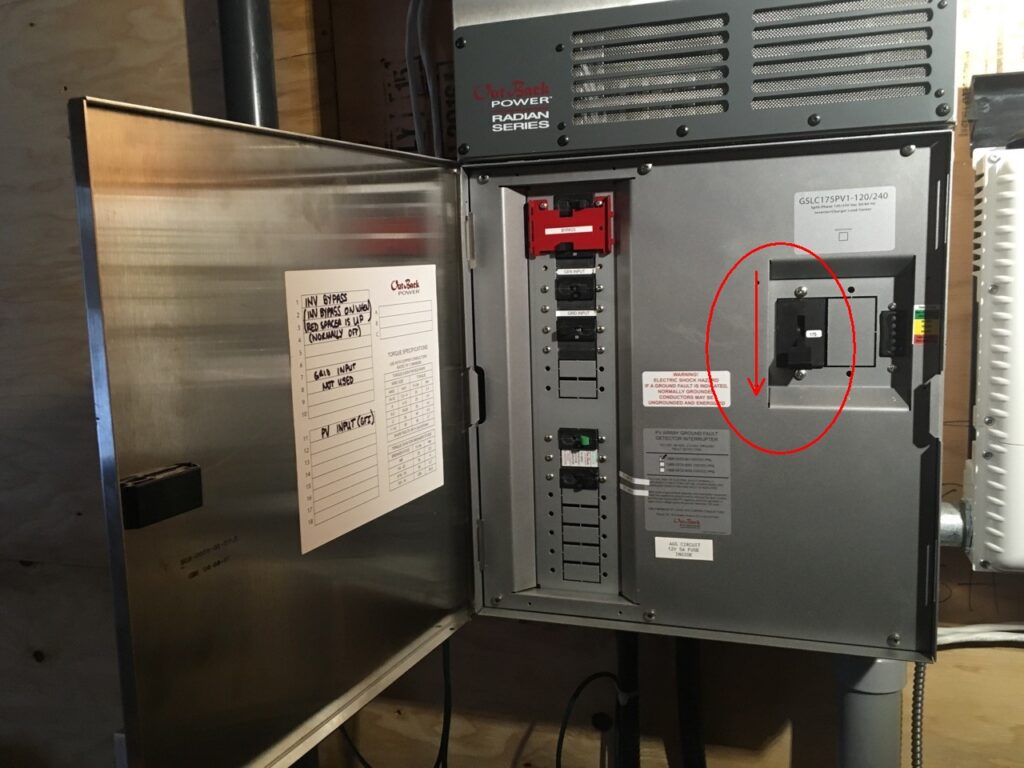
4. Consider turning off your charge controller.
This is a confusing one! Common sense would have you leave your solar charge controller turned ON during the winter to charge the batteries whenever the sun is shining. Indeed, regularly charging your batteries (with no loads) throughout the winter is the best possible thing you can do for their health. But…
Charge controllers are, themselves, a small DC load on the battery bank. This kind of invisible load is often called a ‘phantom’ load. If your array is snow-covered for long periods, the charge controller itself can drain down the battery bank. Who’d a thunk, huh? And, as discussed above, we want to keep your battery state of charge as high as possible to prevent freezing and the damage that can come along with it.
So disconnecting the charging source to remove the controller load is a risk mitigation strategy that may be the best route forward for your site. Batteries that start the winter at 100% SoC and have zero energy going out will survive the winter just fine; you’ll need to give them a good full charge and probably an equalization in spring.
So what’s the best strategy for you? The answer depends on your site and system design.
- Is your solar array prone to snow collection?
- Will the system be completely unattended for the whole winter?
If you answered Yes to these questions, seriously consider disconnecting your controller.
- Is the array likely to be generally snow-free? ie very steeply pitched (>60 degrees), exposed to the wind, etc.
- Someone can visit the site 2 or 3 times over the winter to inspect the system, make changes, clear snow from the solar array, etc.
In this case you could probably leave the controller connected.
You may need to experiment. If, upon arriving in the spring, your batteries are at >60% state of charge you’re probably in good shape. Any other result indicates a need for a change in your battery care, and disconnecting the controller may be part of that change. Indeed, if your batteries are fully depleted upon arrival you must change your strategy to avoid chronic under-performance and early battery death, if they aren’t dead already.
5. Maximize your winter performance
So, you’ve decided to leave your charge controller connected. Here are some steps to maximize winter charging:
- Put your charge controller in low-power mode. This is very controller-specific: consult your controller manual. This may include disconnecting the display or reducing the performance level to save power.
- Put your ground mounted solar array at the steepest possible angle, generally at least 60 degrees to the horizontal. this will maximize snow shedding.
- If you can’t change your array angle, consider installing a 2nd array on a South facing vertical wall. This will shed snow maximally. Connected to a very simple and low power charge controller, this winter-optimized charging system can be smaller than your main array.
- Clean the solar panels. Remove any debris and leaves and clean the glass with a soft cloth and mild soap solution. Clean glass will be less sticky for snow.
- Inspect the area immediately below the array. Will a snow bank build up there? A snow bank may prevent further snow-shedding and should be avoided.
- If your only array is roof mounted on a shingled roof be aware than shingles are sticky to snow and snow sliding off the glass solar panels will build up on the shingles immediately below the array. You can mitigate this with a slippery section of roof below the solar array, like steel. Consult your roofer for advice.
- Inspect the area for shade: remember that the sun is lowest in the sky during winter and trees grow up! you may have more shade now than when the system was originally installed.
Special Note: Packing out your batteries
In some circumstances and for very small systems you may want to pack out your batteries and take them home for the winter. Be sure to give them a periodic charge during the winter with good battery charger; leaving them uncharged in a warm environment (ie your winter home) may actually be worse then leaving them uncharged in a cold environment because batteries self discharge less in the cold.
Conclusion
You’ve made it this far and your system is now ready for hibernation. Your batteries will be in good shape for next season. If you are fortunate enough to have winter access to your system and you want to use electricity when you are there, just follow the steps above before you leave again. See also our article on Cold Weather Battery Use and Care
For a comprehensive system inspection and a great opportunity to have all your system questions answered on-site, Generation Solar offers Preventive Maintenance visits that can coincide with system start-up or shut down. We recommend them every 1-2 years for off-grid system Preventative Maintenance inspections.